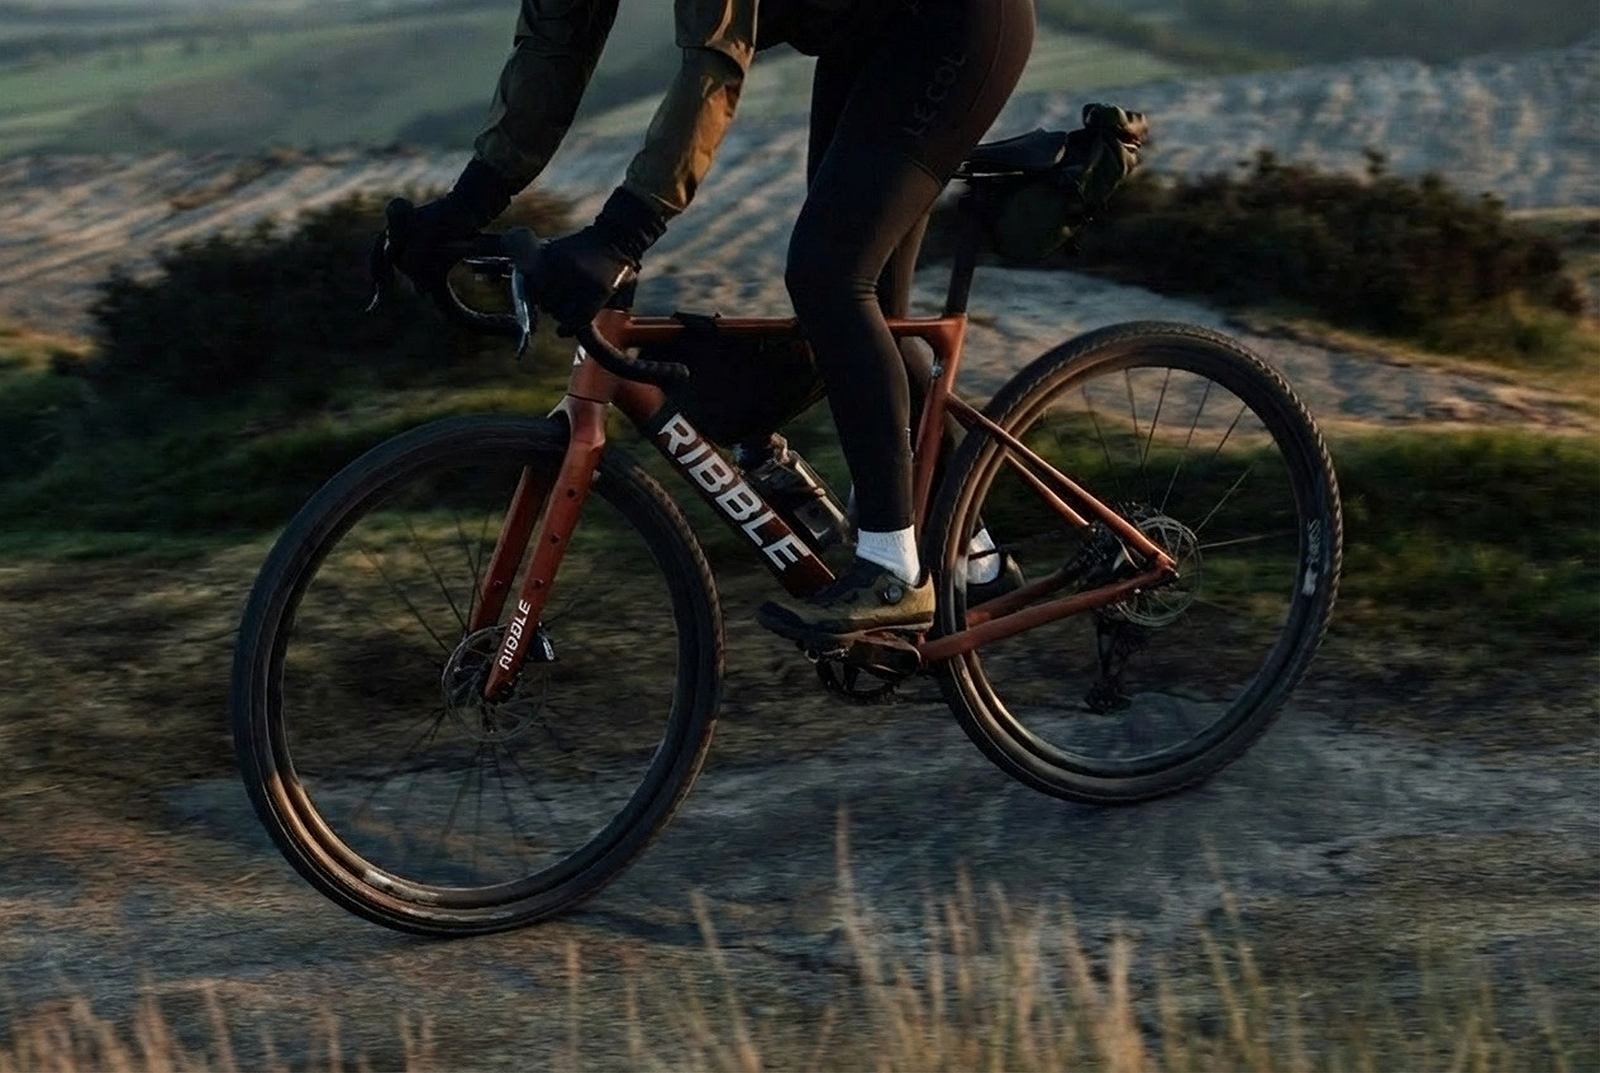
Getting the right set up is half the battle
Gravel bike setup basics
Not setting up, is setting up to fail.
Getting your gravel bike set up properly makes the difference between a comfortable ride and three hours of fighting your position. Setup isn't complicated, but small adjustments matter more on mixed terrain than they do on smooth tarmac. Here's what you need to know.
Start With Saddle Height
Saddle height affects everything else. Get this right first, then adjust from there.A quick way to find your starting height is to sit on the bike with your heel on the pedal at the bottom of the stroke. Your leg should be straight but not locked. When you clip in and pedal normally, you'll have a slight bend at the knee.
Gravel specific tip: Some riders drop their saddle 5-10mm lower than their road bike position for better stability on rough terrain. Try your road height first, then adjust if needed.

Handlebar Height and Reach
Gravel riding needs a more upright position than road racing, but not as upright as mountain biking.How to adjust: Most gravel bikes use spacers under the stem. Move spacers above the stem to lower the bars, or below the stem to raise them. You can also flip the stem or change to a different angle.
Starting point: Bars roughly level with your saddle, or slightly below. This gives a comfortable position without too much weight on your hands.

Handlebar Width
What works: Most gravel riders suit 42-46cm bars, measured centre to centre at the hoods. Go wider if you're riding technical terrain or have broad shoulders. Go narrower for speed and comfort on smoother routes.Warning signs: Shoulder or neck pain often indicates bars that are too wide. Feeling cramped or unstable suggests they're too narrow.
Brake Lever Position
Brake levers should sit where you can reach them comfortably from the hoods without stretching.How to set them: Levers should angle slightly downward, roughly in line with your forearms when you're on the hoods. You should be able to pull them with two fingers without moving your hand position.
Quick check: If you're constantly adjusting your hand position to brake, your levers need moving.
Tyre Pressure
This is a topic of it’s own for gravel cyclists. For detailed pressure recommendations based on rider weight, conditions, and surface type, read our full guide: Tyre Choice and Pressures for UK Gravel
Pedals and Cleats
Cleat position affects comfort and power transfer. Small adjustments make a big difference over long rides. Position cleats so the ball of your foot sits over the pedal axle. Start with cleats centred laterally, then adjust if you feel knee strain.SPD vs road cleats: Many gravel riders prefer mountain bike style SPD pedals for easier walking and better mud clearance.
Final Checks
Once you've made adjustments, ride a familiar loop and pay attention to how the bike feels. Setup is personal. What works for someone else might not work for you.Warning signs:
- Numb hands: bars too low or too much weight forward
- Lower back pain: saddle too high or bars too low
- Knee pain: saddle height or fore-aft position needs adjusting
- Neck pain: bars too low or too wide
Make one change at a time and give it at least two rides before adjusting again. Small changes add up.
Get it right
A properly set up gravel bike feels like an extension of your body. You're not fighting the position or thinking about discomfort. You're just riding. That's when gravel gets good.
A bike fit is the best way to get comfortable on the bike. Not sure where to start? We've partnered with the Bike Fitters for an at-home (or work!) bike fitting service across the UK. Plus, Ribble customers get 10% off their fit! Find out more here.
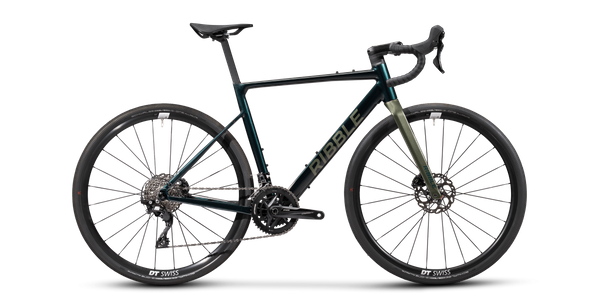
It’s time to upgrage
The right setup only works when you start with the right bike. Our ULTRA-GRIT and ALLGRIT ranges are designed with the geometry, clearances, and versatility that make proper gravel setup easier from the start. With well designed endurance geometry, clearance for up to 50mm tyres, and full customisation options to fit your body before it even arrives, you're starting from the right place. Check out the range below.
- Spare £200
- New

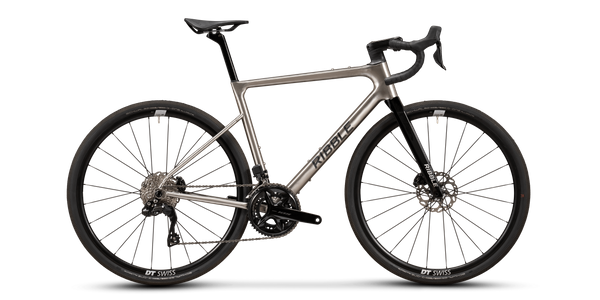
ALLGRIT Ti-X
Entwickelt für die Langstrecke. Hochwertiges 3D-gedrucktes Titan, extrem ruhiges Fahrverhalten, robuste Ausdauer. Gebaut, um immer weiter zu fahren, für immer.
- New
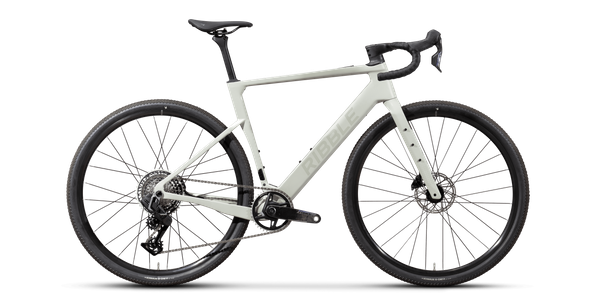
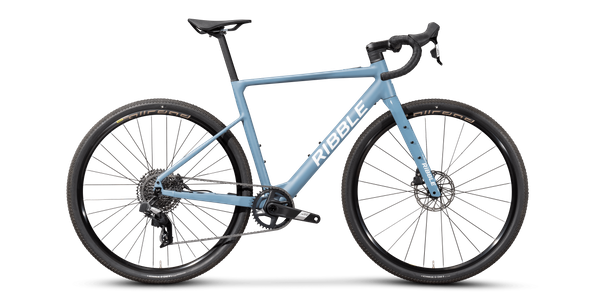
ALLGRIT AL
Pures Abenteuer, überallhin mitnehmbar. Leichte Legierung, sicheres Handling, volle Beladbarkeit. Fahre auf Straßen, Trails und allem, was dazwischen liegt.
- Spare £100
- New
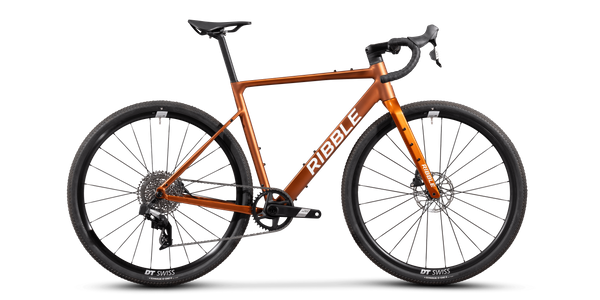
ULTRA-GRIT
Rennerprobter Carbon-Gravel-Racer mit Aero-Optimierung und präzisem Handling. Gebaut, um schneller und weiter zu fahren. Gewicht ab 8,0 kg.

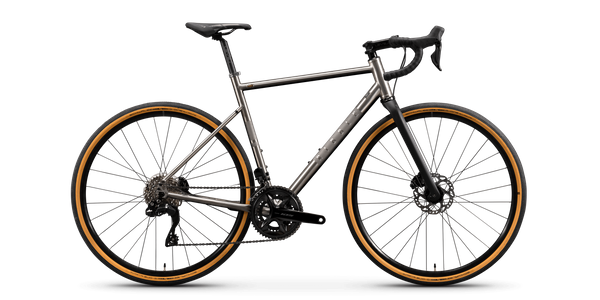
Gravel Ti
Titan Gravel Bike - Leichtgewicht mit ganzjähriger Vielseitigkeit auf jedem Terrain
- New
- Electric
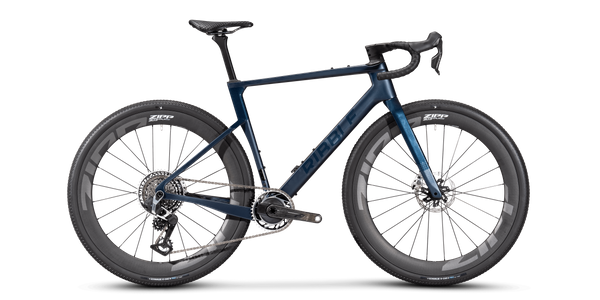
ALLGRIT E CARBON-X
Leicht. Kraftvoll. Grenzenlos. Carbonrahmen, integrierte Leistung, Geschwindigkeit in jedem Gelände. Abenteuer, verstärkt.

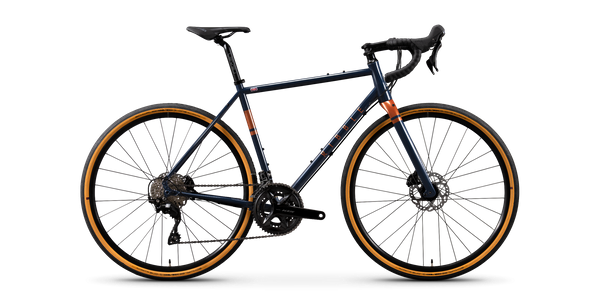
Gravel 725
Traditionelles Gravelbike mit Stahlrahmen. Langlebig, geländegängig und komfortabel für ganztägige Touren auf Trails.
- Spare £300
CGR Ti-X
Titan-Eleganz mit der „CGR do it all”-Einstellung. Geschmeidig, selbstbewusst, bereit, auf jedem Untergrund die Distanz zu gehen. Gebaut, um zu fahren, und gebaut, um zu halten.
- New
- Electric
ALLGRIT E AL
Electric freedom, wherever you roam. Sleek alloy frame, natural pedal-assist, all-terrain ready. Power your next escape.
- Spare £200
CGR 725
Stahl Cross Gravel Rennrad - Klassischer Stahl mit Vielseitigkeit für jede Jahreszeit und jedes Gelände
- Spare £300
CGR Ti
Titan Cross Gravel Rennrad - Das entspannte und stabile CGR Ti ist bereit, auf einer Vielzahl von Terrains zu fahren.
- Electric

CGR E Carbon-X
CGR auf einem neuen Niveau. Ein hochwertiges, integriertes E-Bike für Straße, Gravel und alles dazwischen. Superleichtes Carbon-Bike und das neueste X20-E-Drive-System von Mahle. Es kann alles, was du kannst.
- Spare £100
CGR AL
Das original Allround-Fahrrad. Ein vielseitiges Aluminium-Fahrrad für jeden Untergrund, das für den täglichen Gebrauch konzipiert ist. Zuverlässig auf dem Weg zur Arbeit, auf Schotterwegen oder auf der Straße. Mit Halterungen für Gepäckträger, Schutz
- Spare £100
- Electric

CGR E AL
Alles, was das CGR AL so brillant macht, plus elektrische Unterstützung, wann immer du sie brauchst. Angetrieben vom Mahle X30 E-Drive-System. Leise, leicht und startklar.


Tyre Choice and Pressures for UK Gravel
Tyres can make or break your gravel ride. This blog cuts through the guesswork on width, tread and pressure, showing you what actually works for UK conditions.

Getting the right set up is half the battle
Getting your gravel bike set up right is the difference between enjoying the ride and counting down the miles. This blog breaks down the key adjustments that actually matter, from saddle height to bar position and tyre pressure, without drowning you in jargon.

Just because it’s wet and cold, doesn’t mean we’re not having fun
February gravel isn’t about hero rides. It’s about quiet trails, mixed surfaces and riding for the sake of it. This blog dives into why Ribble staff and the Outliers keep choosing gravel when winter drags on, from traffic-free routes to bikes built to handle proper UK conditions.
Post Ride Checks That Keep Your Gravel Bike Running
Winter wrecks bikes. This blog shows you how to fight back in five minutes flat. No tools, no faff. Just the simple checks that stop small issues turning into expensive problems. From wiping down grit to spotting tyre cuts and keeping your chain alive, it’s the bare minimum that makes a massive difference. Ride more. Fix less. Your future self will thank you.
Winter Gravel Essentials: What Actually Works in UK Conditions
Winter gravel isn’t about suffering. It’s about turning up and staying comfortable. This guide shares no-nonsense kit advice from Ribble staff and the Outliers on what actually works in a UK February.

When To Service Your Bike? A Practical Guide for Every Rider
Looking after your bike doesn’t start and end with a clean after riding. Regular servicing keeps it working at its best, no matter how often you ride. The tricky part is knowing when a service is needed. Too early feels unnecessary. Too late and the problems have already crept in. This guide breaks it down simply so you can ride more and worry less.

Staying Motivated: Winter Wisdom From The Ribble Family
When winter kills your motivation, even the pros feel it. The difference is they’ve built strategies that keep them riding when willpower runs out. Here’s how they stay consistent, break through the slump, and keep the pedals turning through the toughest months.

Clean: A Quick Wash Guide With Tom Couzens
Winter rides = filthy bikes. But it doesn’t need to be a chore. Ribble Ambassador Tom Couzens shares a quick 10-minute clean that keeps your bike running smooth and makes getting back out tomorrow a whole lot easier.

FTP Booster Plan
This 4-week plan is built to boost your Functional Threshold Power (FTP) with a mix of threshold efforts, sweet spot sessions, VO₂ max intervals, and progressive endurance work—targeting the key adaptations for sustaining higher power longer.

Electric Road Bike vs Road Bike – What’s the Difference?
Electric road bikes deliver the same ride, handling and thrill as traditional road bikes, just with a discreet boost that helps you go further, faster, and ride more often.

Cycle to Work Day - The UK's biggest cycle commute

Big tyres and big gears for the big outdoors